
Today we’ll show you how easy it is to add a store locator to WooCommerce.
Your store might sell physical products direct to customers, sell through distributors, or a little of both. Some customers might prefer purchasing from a local store instead of getting items shipped. What is the best method to show customers storefronts where they can find your products?
Add a Store Locator to WooCommerce
To show customers where your distributors/resellers are located, you could add a long list of addresses to a page on your site. An unending list of text addresses isn’t the most user- friendly solution if the customer wants to find the location that is closest to them, or located in a specific part of a city. Today’s customers are expecting more service from ecommerce merchants.
WooCommerce Store Locator
The WooCommerce Store Locator plugin is a great way to show customers where they can find your products. The plugin is installed in your WordPress / WooCommerce site and not dependent on a 3rd party service that might have an outage. WC Store Locator helps you add a catalog of stores with each store’s address, website, and phone number.
In addition to the store information, the store address can be geocoded so that a pin can be dropped on a map showing the store’s exact location. This lets the customer click, drag, and zoom around a map to gain an understanding of locations instead of trying to interpret this from a list of addresses.
The geocoded data also lets the customer do dynamic searches using a center point. The WC Store Locator has a search page function where the customer can enter an address and a distance (radius) to use for a search. The search results map will auto-size to show all store locations within the selected distance of the center point.
Setting up your store location catalog
The first step is to purchase the WooCommerce Store Locator plugin.
Get WooCommerce Store Locator!
Follow the simple installation instructions to add the plugin to your WooCommerce site. Be sure you’re logged in to your site’s WordPress dashboard as an administrator before proceeding.
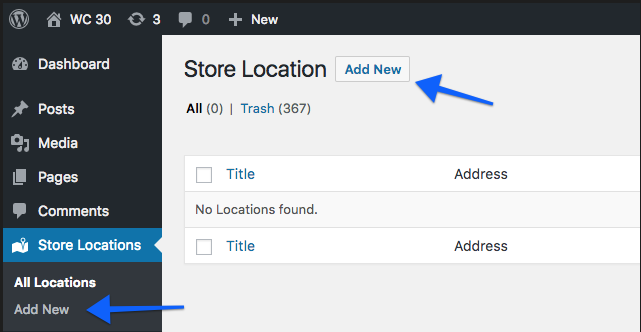
Adding single locations is easy since the store locations are accessed via the WordPress dashboard. Simply click on Store Locations and press “Add New” just like writing a blog post.
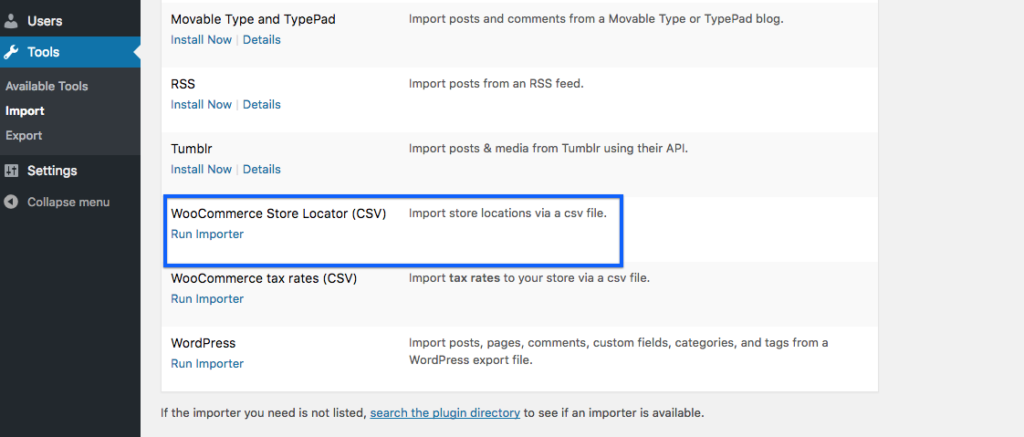
If you need to add a large number of store locations and entering by hand is not an option, the WooCommerce Store Locator plugin has a CSV import option. Simply add your store location data to a CSV in the supplied format and the bulk importer will handle adding the locations and geocoding the addresses so they can be used with the address lookup feature.
Adding a location search page
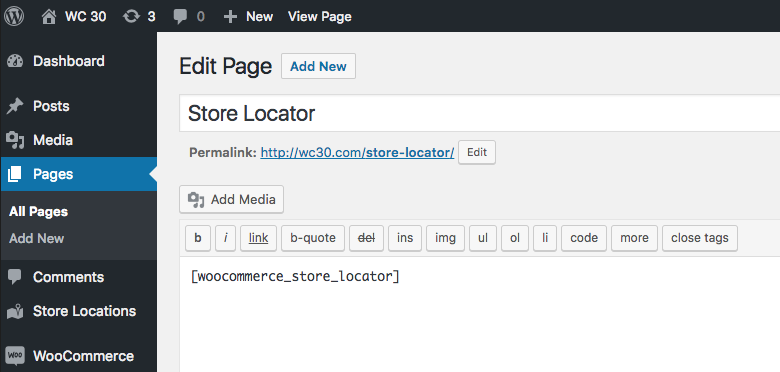
Any page of your choice can serve as the store locator page. The only requirement is that the page have the “woocommerce_store_locator” shortcode. Adding this shortcode to the page content will have the search form, store list, and results map show up on the front end of the website.
Adding the page to the menu
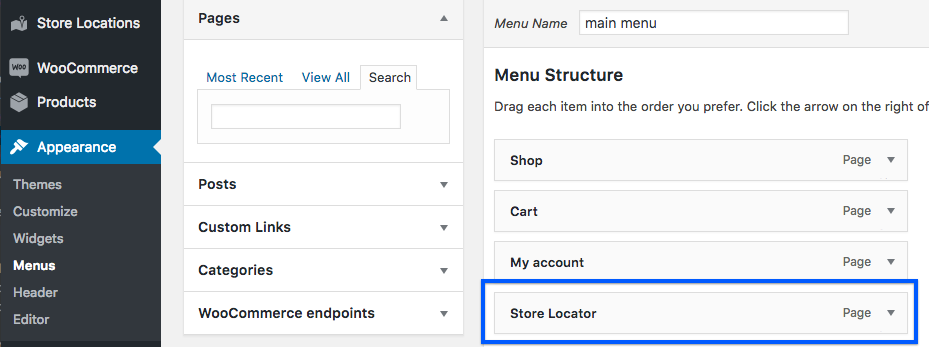
This step will depend on your site’s theme. You can add a “Find a store” or “Store Locator” link to your site’s header or footer menu. Go to Appearance, then click Menus and select the page you added in the previous step under the Pages box. Add it to the menu where you want customers to be able to find it.
Congratulations! You’ve finished the few steps needed to add a store locator to WooCommerce. Now customers who want to find your products can use the search feature to locate stores near them.