This documentation is for the WooCommerce Custom Checkout Fields plugin.
Installation
From the WordPress admin dashboard:
- Hover over the menu option Plugins, then click on Add New.
- Press the Upload Plugin button.
- Press Choose File and select the woocommerce-custom-checkout-fields.zip file.
- Press Open, then press Install Now.
- If the load worked press Activate Now.
If you want to install by uploading directly to your site:
- On your local machine unzip the woocommerce-custom-checkout-fields.zip file.
- Log in to your site using FTP or SFTP.
- Upload the extracted folder to the wp-content/plugins/ directory on your site.
- Go to the WordPress Plugins dashboard and Activate the plugin.
Add License
After the plugin is activated go to the plugins page and find the License area under WooCommerce Custom Checkout Fields.

Copy your license key from the My Account area on ShopPlugins.com or from your order confirmation email then paste it into the “Your license key” field. Press enter to activate it. A successful activation will look like this:

Add a Custom Checkout
In this example we will walk through adding a Gift Recipient field when the category of the product is “gift”
1. From the plugins page click on the Settings link under WooCommerce Custom checkout Fields

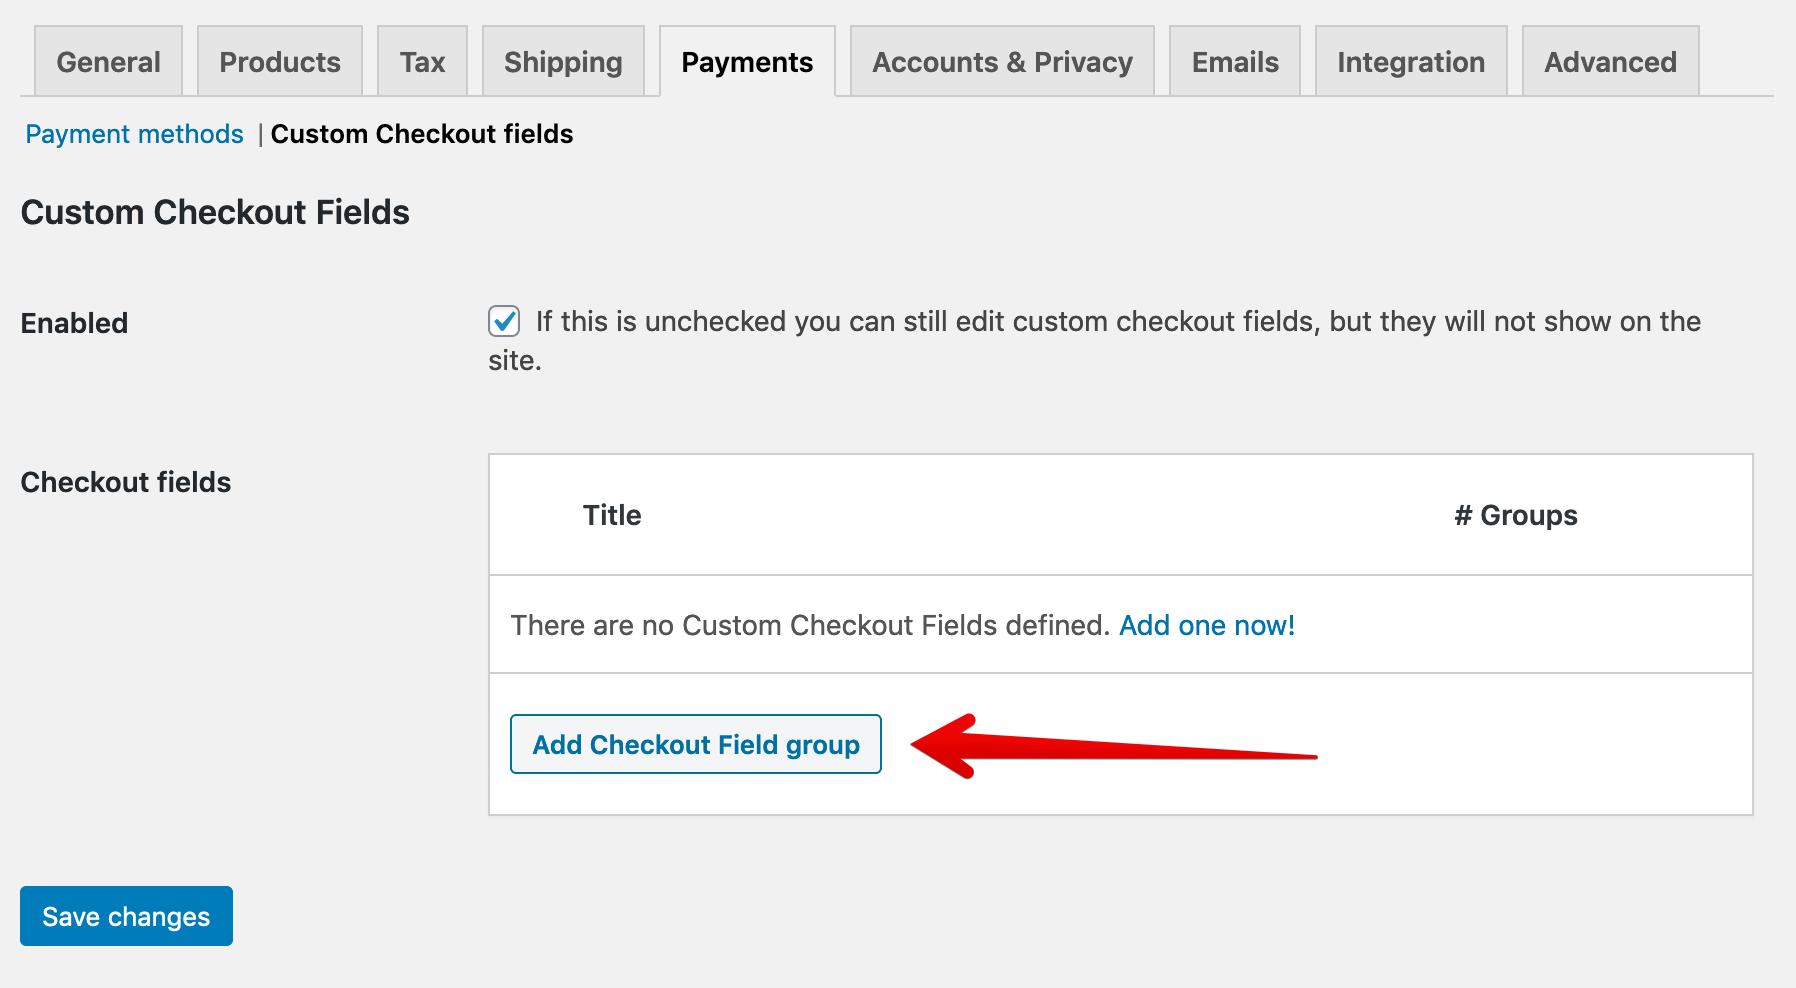
2. Make sure the “Enabled” checkbox is checked.
3. To add a new custom checkout press Add Checkout Field group
4. Add a title that describes the checkout group. This is not shown to customers and is only seen by site administrators.

5. Add Custom Checkout conditions
Press “Add Condition Group” then “Add Condition”. For this example the condition will be “Product Category” and we set it to equal to “gift”.
6. Add field to Other Fields
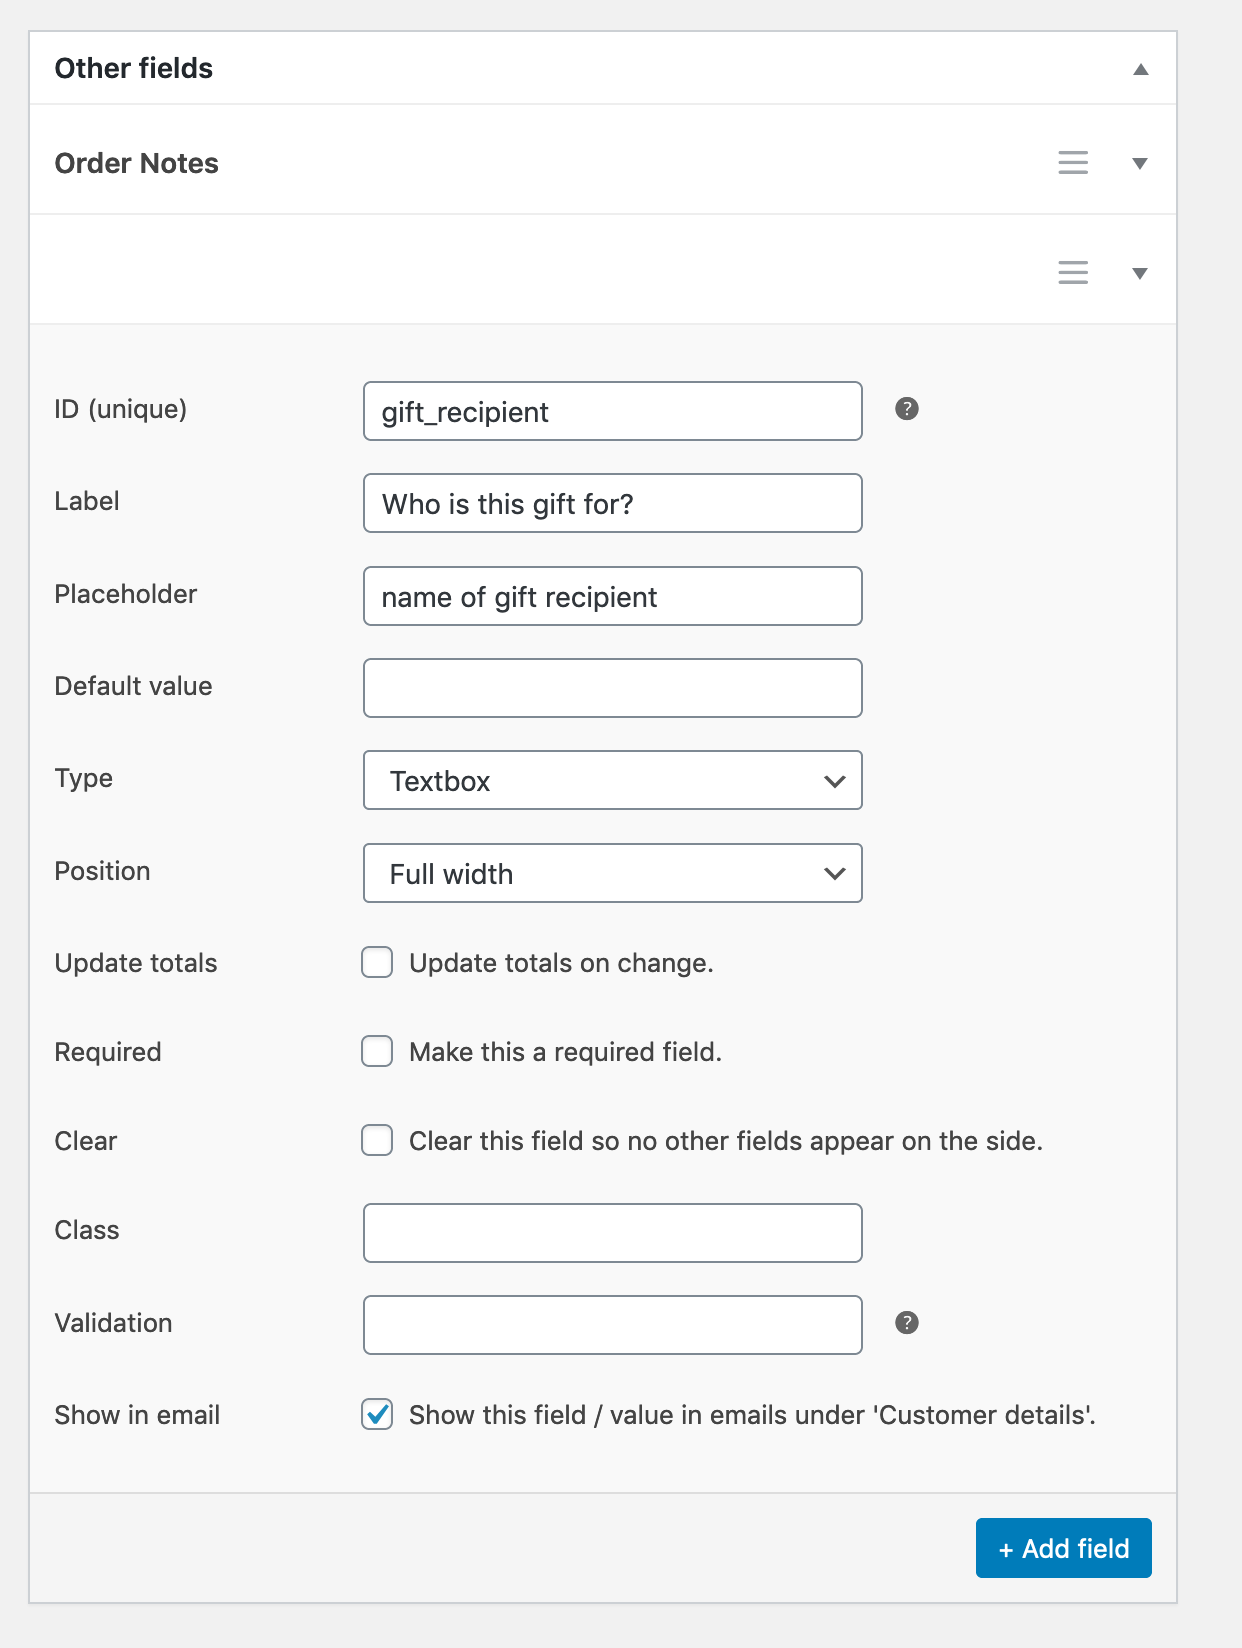
We want this field to show after the Order Notes field. Scroll down to the Other Fields meta box and press Add field.
Fill out the ID, Label, and Placeholder fields. The default Type is Textbox and this can be left alone. Check the Show in email checkbox to add the field to the customer’s order emails.
7. Press Publish to save the settings
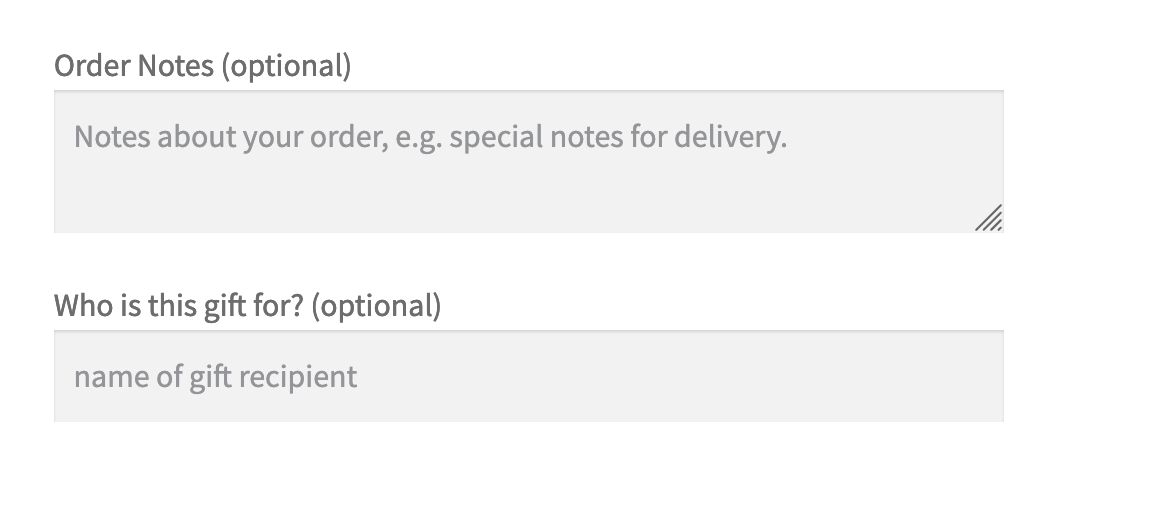
8. Test the checkout field by adding a product with category of “gift” to the cart. The field will now show on the checkout page under the Order Notes! ?